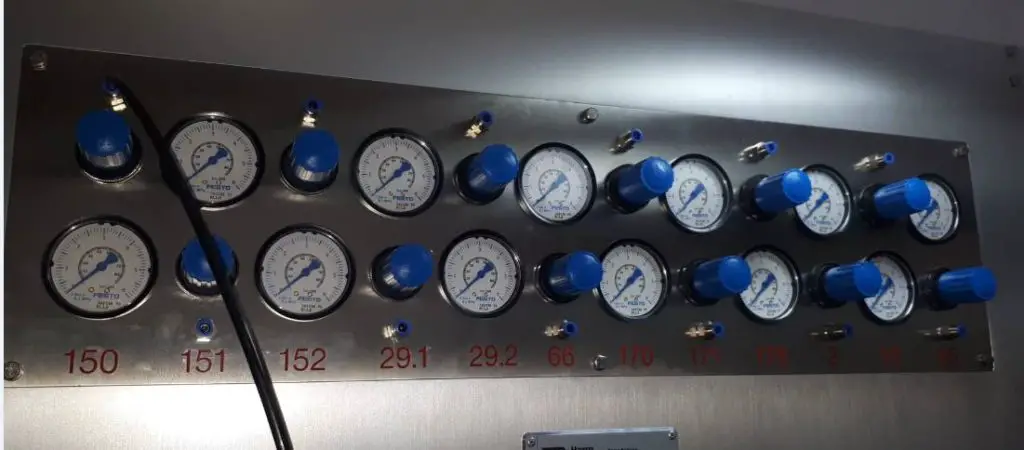
I receive a question asking, “What is the difference between monitoring and calibration?”
At first, I was skeptical to answer the question because I was thinking that it is a very simple question. But I realize that it is not a simple question, it has a broader meaning and explanation that we need to determine to understand its application better.
Without understanding the true meaning of the term monitoring in relation to calibration and ISO 9001 calibration requirements, then the true purpose of calibration will become irrelevant.
We are using the process of monitoring in our own body like monitoring our weight, our blood pressure, and our body temperature to come up with diagnosis and treatment for any abnormalities to help maintain a healthy body.
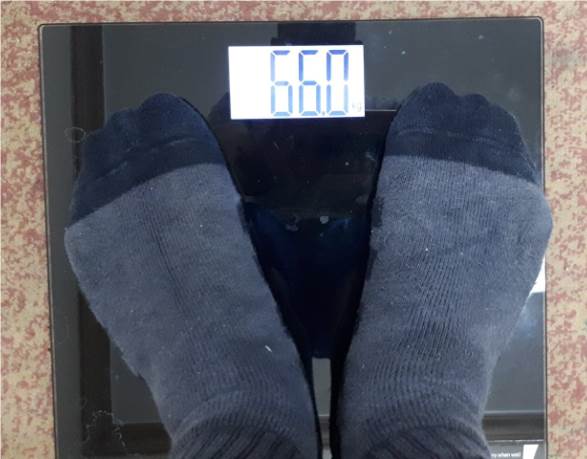
With wrong or inaccurate measurement data, a wrong diagnosis will be given. For this reason, calibration is performed for the measurement device used in monitoring, which is the deeper purpose of why we need calibration.
In every plant or manufacturing industries that I visited, we perform calibration because we want to determine if the instruments are within its accuracy specification or to verify if it is within the tolerance specified by the process owner. I believe that to most calibration techs, that is the main purpose why calibration is performed
What we do not see is the true end goal, in which, we perform calibration in order for the measuring equipment/devices provide the most valid data for accurate monitoring. This in return will provide safety, quality, and reliability of the final product or process that will be beneficial to every human being.
In this post, I will discuss below topics and to present with you simple explanations (I believe) about monitoring in terms of its meaning, usage or application to calibration activities, and ISO requirements as per ISO 17025 and ISO 9001.
- What is the difference between monitoring, measurement, and calibration?
- What is the importance of monitoring and measurement in the Calibration Process?
- When to Perform Monitoring and Measurement?
- Monitoring of Measurement Resources- Direct Application for In-House Calibration Implementation
- What measurement resources need to be monitored
- What measuring resources does not need to be monitored
- Some techniques to analyze and evaluate monitoring and measurement results
- Applications of monitoring and measurement as per ISO 17025:2017
What is the Difference between Monitoring, Measurement, and Calibration?
The term “monitoring” is used in almost all process in the ISO standard, and it always comes with measurement or calibration. Sometimes, monitoring and measuring have the same meaning. See the example below.
Example (This is an example from ISO 9001:2015 under clause 7.1.5.1 where monitoring and measuring are the same.):
The organization shall determine and provide the resources needed to ensure valid and reliable results when monitoring or measuring is used to verify the conformity of products and services to requirements.
In this ISO clause, monitoring and measuring is the same and pertains to measuring resources, in simple term, a piece of measuring equipment.
Know, let us define them separately….
Monitoring
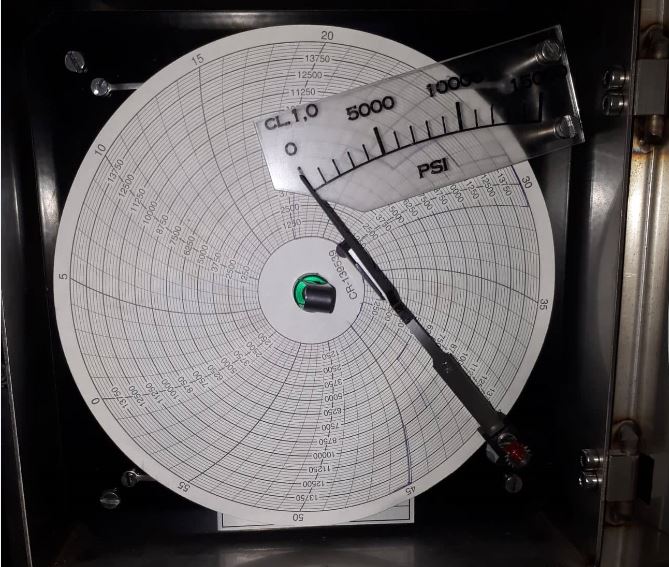
When you google the meaning of monitoring, this is how it is defined: to observe and check the progress or quality of (something) over a period of time;
The term ‘something’ refers to a measurand, the quantity values subject for measurement (example of quantity is pressure and temperature).
Monitoring is the processes that support the quality management of the calibration process. Measurement data from a measurement procedure are gathered over a period of time then an analysis and evaluation follows. (I will explain further below)
Measurement
Again, in Google’s free dictionary, this is what measurement means: the action of measuring something.
Measuring: to discover the exact size or amount of something
AS per VIM 2.1 definition, measurement means: “ process of experimentally obtaining one or more
quantity values that can reasonably be attributed to a quantity“
This ‘something’ is the ‘quantity values’. A quantity values is what we want to measure like pressure (psi), temperature (degree Celsius), mass (kg), etc, these quantity values is known as the measurand.
We are performing measurement using a measuring equipment in order to obtain the exact size or amount of the measurand. The output of our measuring equipment is the measurement results.
And in order to have reliable and accurate measurement results, measurement equipment must be calibrated.
Calibration
Calibration as we always define in simple terms is the comparison of the UUC (Unit under Calibration) reading to the output reading of the reference standard.
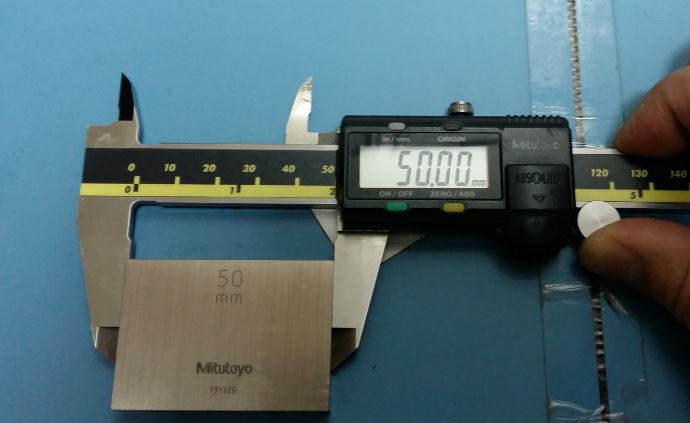
Once we know the true value, we can determine the error, verify if it is within tolerance or specification and make an adjustment if needed.
Check here for more calibration terms and principles.
To sum it all….
It is here now where monitoring, measurement, and calibration come along.
Monitoring is the process of analyzing, evaluating, interpreting data results from a measured parameter within a specified time to verify conformity. Every monitoring activities need measurement results in order to have valid data for analysis and evaluation.
Because we are performing a measurement, we are using measuring devices, equipment, and instrument or in general, measuring resources that must undergo calibration to deliver a reliable result.
During monitoring activities, we use calibrated measuring instruments to achieve confidence with our monitoring results.
Importance of Monitoring and Measurement in Calibration Process
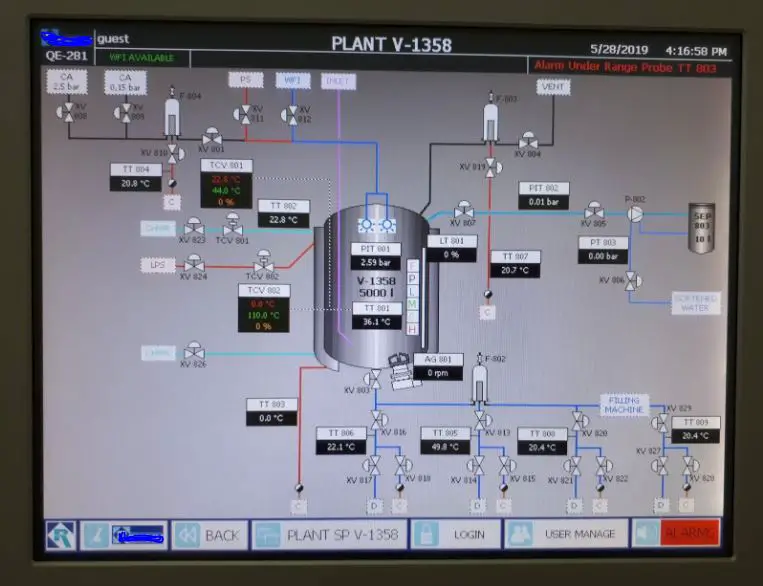
The reason we monitor and measure the processes in calibration is to:
1. Improve or to make processes better.
2. Maintain quality
3. Determine any defects
4. Maintain safety
5. Ensure the effective operation and control of these processes
6. Verify the conformity of products and services to requirements
7. Safeguarding monitoring and measurement resources from adjustments, damage or deterioration that would invalidate the calibration status and subsequent measurement results.
When to Perform Monitoring and Measurement?
Monitoring and measurement is performed when we need to:
- Determine equipment performance
- Analyze and evaluate risk
- Analyze and evaluate the outcome of the final output
- Controlling process to maintain the quality and validity of results
Monitoring of Measurement Resources- Calibration Implementation Process
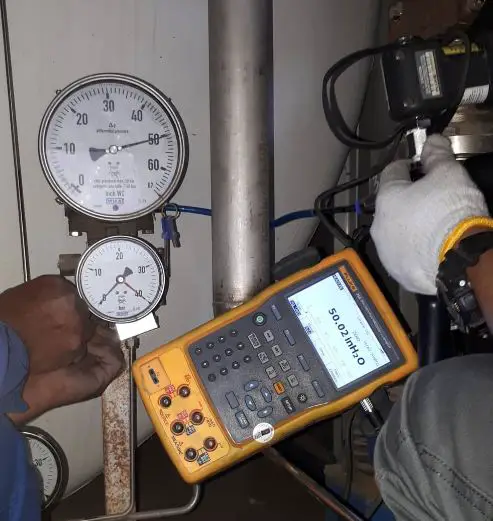
Monitoring is always used in almost every process in the industry, but do we really know what needs to be monitored? How can we perform monitoring?
Measurement resources cover all instruments, devices, and equipment including software that are used for quantitative measurement, meaning to measure something related to size, magnitude or degree.
In this section, I will present the monitoring activities used to control and properly maintained all measuring resources to ensure the validity of results.
The activities we perform to monitor measuring resources are:
- Inclusion in the calibration program to monitor a:
a. Calibration interval
b. Performance verification of measurement results
c. Intermediate check
d. records (certificates, datasheets, and history file)
e. Traceability
f. Preventive maintenance plan
g. Incoming
h. Outgoing - To be included in the quality system process or procedure like:
a. Internal audit
b. Improvement plans.
c. Records control
.What Measurement Resources Needs To Be Monitored
What needs to be calibrated must be included in our monitoring. These includes:
- All instruments used that can affect product quality
- All measuring instruments that are used to determine a pass or fail results
- Reference standards use to calibrate working instruments.
- All instruments that have an effect on the validity of the laboratory activities (calibration, verification, sampling, and testing)
- All measuring instruments that are used for calibration, verification, sampling and testing activities
- Instruments use for monitoring safety
What Measuring Resources Does Not Need Monitoring?
An instrument which does not need monitoring means it does not need calibration.
These monitoring or measuring instruments has no effect or direct impact on the safety, quality of products and other reasons that are listed above.
Anything, where calibration is not needed, will be regarded as calibration not required and may be removed from our monitoring list or a much lighter approach of monitoring will be implemented.
This will save time and effort. See this link for more details about this topic.
Some Techniques Use to Analyse and Evaluate Monitoring and Measurement Results –Performing Monitoring
After we gather measurement results, we can use below tools or techniques to analyze and evaluate the measurement data to come up with the final monitoring results.
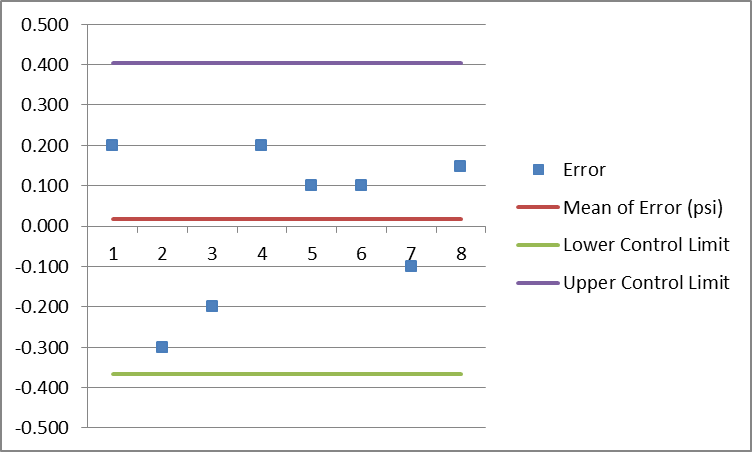
There are other tools to automate this process but this is the simplest tool I used and it is just fine with me.
- Control charts
- Graphs
- Tables
- Basic Statistical data analysis like mean and standard deviation
Application of Monitoring and Measurement as per ISO 17025:2017 Requirements
These are also applicable to the requirements of ISO 9001:2015 for monitoring and measurement activities.
I have listed 4 categories where monitoring and measurement are implemented (you can include other processes that you may think I did not mention here, please feel free to comment), these are:
1. Monitoring and measurement of process performance
Monitoring and measuring the output from:
a. customer survey
b. internal audit
c. objectives monitoring
d. analysis of risk and opportunities
e. competence of personnel
f. improvements
g. proper handling
h. non-conforming calibration works
2. Monitoring of measurement resources – control of monitoring and measurement equipment
Monitoring below results to ensure the confidence of reference standards:
a. Calibration status
b. Traceability
c. Calibration interval/Calibration frequency
d. Verified before use
e. Validated before use
f. Measurement Uncertainty
g. Preventive maintenance
3. Monitoring of facilities in terms of:
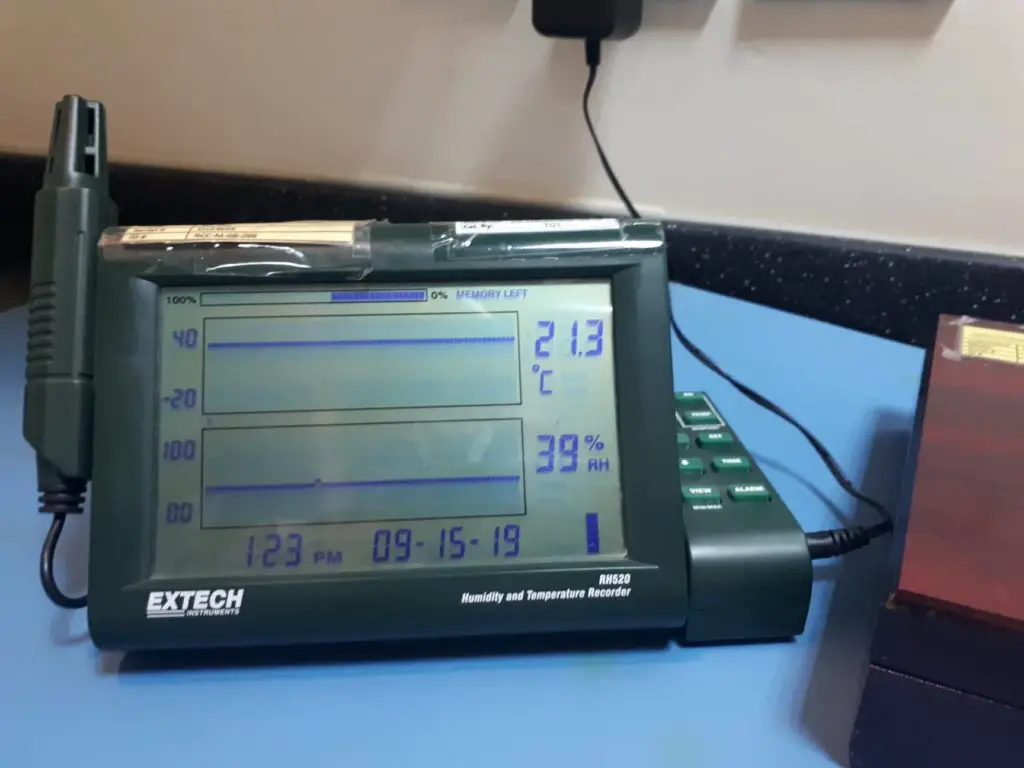
a. Environmental conditions
b. Security and safety – access to and use of areas affecting laboratory activities;
c. The effective separation between areas with incompatible laboratory activities prevention of contamination, interference or adverse influences on laboratory activities;
4. Monitoring the validity of results
Monitoring the validity of results by performing below activities:
a. Use of reference materials
b. Calibration method validation
c. Functionality check
d. Intermediate check
e. Recalibration
f. Review of reported results
g. Proficiency testing
h. Interlaboratory comparison
i. and others
Conclusion
Monitoring and measurement are the two most performed activity within an industry. As per calibration per se, monitoring and measuring equipment have the same meaning or use, and thus calibration requirement must be implemented for both.
As per process application, monitoring and measurement come together. It is difficult or even impossible to monitor something without using any measurement resources. Almost every process within an industry, specifically manufacturing, food, and pharmaceutical industry needs monitoring and measurement.
In this article, I presented the following:
- What are the differences between monitoring, measurement, and calibration?
- What is the importance of monitoring and measurement in the Calibration Process?
- When to Perform Monitoring and Measurement?
- Monitoring of Measurement Resources- Direct Application for In-House Calibration Implementation
- What measurement resources need to be monitored?
- What measuring resources does not need to be monitored?
- Some techniques to analyze and evaluate monitoring and measurement results
- Applications of monitoring and measurement as per ISO 17025:2017
Thank you for visiting my site.
Please comment and subscribe.
You can also connect with me on my Facebook page.
Best Regards,
Edwin
12 Responses
greg esplana
Hi, the subject-question in the article’s title is not easy to answer and not simple. The question raises another question. It is similar to a riddle in Facebook where the question asks” what will you open first to answer?”.
In this case, the next question would be “monitor what and calibrate what”? In the explanation example, it is shown that the monitoring discusses the vital signs of the body, and the calibration pertains to the device that measures them.
At any rate, I like to comment on the technical matter: If a calibration certifies one device valid for 6 months, what factors that can invalidate this certificate?
Thanks for the insight..
edsponce
Hi Greg,
Thank you for the comments, appreciate your time reading my post.
It is really confusing if the question about monitoring has no other supporting statement to make it clearer.
Regarding your question, below are my answers:
First of all, as an SOP for an accredited calibration lab, calibration interval or validity of calibration date should be agreed with the customer or user before placing it in the calibration certificate.
The user, not the lab has the best reason why he/she chose the calibration interval.
But regardless of the validity period, below are the reasons for a calibration certificate to become invalid:
1. Date of calibration is already due (or overdue)
2. No signature in the certificate as a sign of approval from the lab.
3. In case that the instrument has limited calibration (not a full range), but you are using the instrument outside its calibration range.
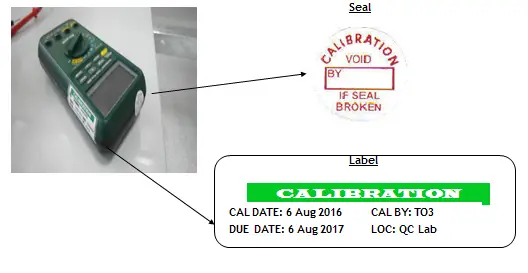
4. The instrument has shown a sign of tampering (calibration seal is broken).
5. Some details in the calibration certificate do not match with the instrument (like a serial number)
6. During recalibration and you found out that it is out of tolerance for the 2nd time. The best practice for this type of issue is to decrease the calibration interval. (although this is not one of the best reason but it may happen)
7. The calibration lab who perform the calibration is not an accredited lab unless you have a valid reason why you choose that lab.
8. The certificate is reproduced in part only (not in full or completed copy) without the approval of the calibration lab.
I hope I answered your questions. If you need more clarifications, please do not hesitate to comment further.
Best regards,
Edwin
Ariel
Good day, Ed,
Thanks for this article.
Upon looking at the calibration report, the Expanded uncertainty is higher than the accuracy. Is it acceptable?
Can you make an article for expanded uncertainty with example calculation so we can understand?
Thanks & Best Regards,
Ariel
edsponce
Hi Ariel,
Expanded uncertainty can be higher than accuracy, this is normal. But is it acceptable, it depends on your requirements on how you use the expanded uncertainty.
Expanded uncertainty is the combination of all the valid sources of errors and then combined mathematically using the RSS (Root Sum Squared) method. In this combination, accuracy may be one of the components of the uncertainty budget or contributors to error. And because of this, it can happen that expanded uncertainty is larger than accuracy. Even if this is not included as one of the contributors, expanded uncertainty will still be greater if the master standard used has high uncertainty value.
The problem only happens if you have a requirement of how much expanded uncertainty you must maintain or need in which it should be communicated, understood and accepted by the lab.
I will consider your concern in my future post.
Thank you for this comment.
Thanks and regards,
Edwin
John Mulindi
Your articles are usually informative with good practical knowledge, I always learn something new, when I read them. Thanks for sharing.
edsponce
Sir John,
You are welcome.
Thanks again for reading my article. I appreciate your comments.
Best regards,
Edwin
Nisha Mehta
Really informative article & presented well defining the difference & importance of monitoring & measuring in calibration .
edsponce
Hi Nisha,
Thank you.
Nurin
hi do you have a sample calibration log im new to this calibration tracking.
edsponce
Hi Nurin,
We only use a simple excel sheet to monitor measuring instruments. It is already enough unless you want to include automation where in you can use a software like METCAL.
The excel sheet has a headings that includes:
1. description of the instrument like Make/Model/Serial
2. description
3. ID number or special code
4. Location
5. certificate number
6. Calibration date
7. calibration due date
8. Traceability details
9. Status
10. If either internal or externally calibrated
11. others that is important for monitoring
I hope this helps,
Edwin
Alina
Thanks for sharing this article, It is a very informative article on the calibration process. If you’re looking to improve your calibration skills, Punyam Academy’s course on Mechanical Instruments Calibration is excellent. The course material is thorough and easy to follow. Definitely worth the investment!
Certified Calibration Lab Technician – Mechanical
edsponce
Hi Alina,
That is great,its nice to know.
Best regards,
Edwin